
Every busy pet owner knows the scramble when a wet dog bursts through the door after a walk in rainy London or a bath in a cozy New York bathroom. The right setup makes all the difference between a chaotic puddle and a calm, quick routine. Preparing everything you need before drying even starts not only cuts down drying time but also keeps your small companion safe and happy in any city around the globe.
Table of Contents
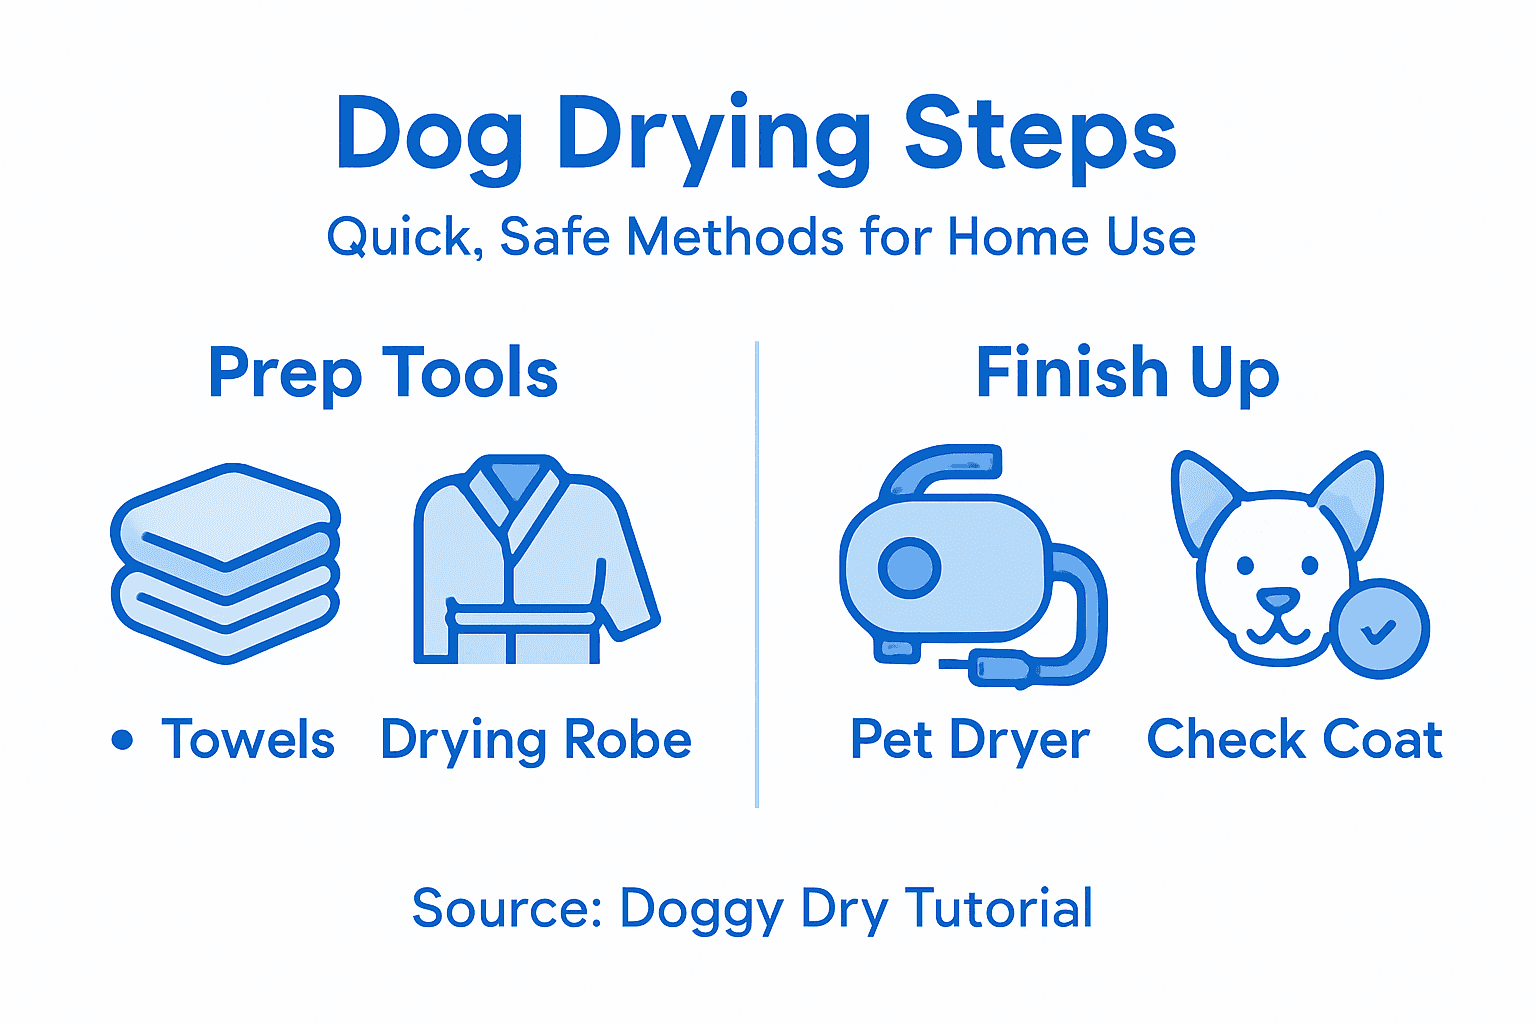
- Step 1: Prepare Your Drying Tools And Space
- Step 2: Remove Excess Water With Towels Or Robes
- Step 3: Use A Pet Dryer For Thorough Drying
- Step 4: Check And Ensure Your Dog Is Completely Dry
Quick Summary
| Key Takeaway | Explanation |
|---|---|
| 1. Gather tools before drying | Prepare absorbent towels and drying devices tailored to your dog’s coat type to enhance efficiency. |
| 2. Remove excess water first | Towel drying immediately after a bath is crucial to maintaining warmth and speeding up the overall drying process. |
| 3. Use a pet dryer safely | Introduce the pet dryer gradually, ensuring comfort while effectively finishing the drying process for long coats. |
| 4. Check for complete dryness | Verify areas like underarms and between toes for moisture to prevent infections and ensure your dog’s well-being. |
| 5. Create a calm drying environment | A quiet, warm space with non-slip flooring helps keep your dog relaxed and makes the drying session smoother. |
Step 1: Prepare your drying tools and space
Before your dog even steps out of the bathtub or comes in from a rainy walk, you need to have everything ready. Scrambling for towels while your wet pup shakes water everywhere defeats the purpose of a quick, efficient drying session. Setting up in advance means less stress for both you and your dog.
Start by gathering your tools based on your dog’s coat type. Different coat types require different approaches, so consider what you’re working with.
Coat-specific drying tools:
- Short coats: absorbent towels work great as your primary tool
- Medium coats: combination of towels plus a dog dryer or blower
- Long or thick coats: towels paired with a high-velocity dryer for efficiency
- Double coats: multiple layers mean you’ll need extra towels and patience
Assemble your complete toolkit before starting. You’ll want absorbent towels, any drying robes if you use them, and your chosen drying device within arm’s reach. Having everything prepped keeps your dog from getting restless while you hunt for supplies.
Here’s how drying methods compare for different coat types:
| Coat Type | Fastest Method | Drying Time Impact |
|---|---|---|
| Short | Absorbent towel | Quickest, minimal tools |
| Medium | Towel + basic dryer | Moderate, efficient combo |
| Long or Thick | Towel + high-velocity | Slower, requires patience |
| Double-Coated | Multiple towels + dryer | Longest, layer attention |
Next, create a calm, safe space for drying. Your bathroom, laundry room, or a designated area should have non-slip flooring so your dog doesn’t panic on slippery surfaces. Ensure the space is warm—wet dogs lose body heat quickly, and a chilly environment stresses them out.
A prepared space and gathered tools cut drying time in half and keep your dog relaxed throughout the process.
Water-resistant flooring or towels down will prevent puddles and slips. Make sure there’s good ventilation if you’re using an electric dryer, and keep electrical cords safely away from water. Your dog’s comfort during the drying process starts with an environment designed for success.
Check that your workspace has a calm atmosphere. Close windows and doors to avoid distractions, keep the room quiet, and let your dog know this is a safe, routine activity. Anxious dogs dry worse and take longer, so a peaceful setup is an investment in speed and safety.
Pro tip: Set a timer for 15 minutes before you bathe your dog so you’re mentally prepared and your tools are laid out, ready to go the moment your pup emerges from the water.
Step 2: Remove excess water with towels or robes
This step is where you make the biggest dent in drying time. Removing as much water as possible right away with towels or robes means your dog will dry faster overall and stay warmer while the process continues. Speed matters here because wet dogs lose body heat quickly.
Start by gently squeezing water out of your dog’s coat rather than rubbing aggressively. Aggressive rubbing tangles fur, especially in longer coats, and can irritate skin. Work systematically from head to tail, focusing on the areas that hold the most water like the belly, legs, and tail.
Effective towel drying technique:
- Wrap your dog in a large, absorbent towel immediately after the bath
- Gently press the towel against wet fur to absorb moisture
- Rotate to fresh, dry sections of the towel as it becomes saturated
- Pay extra attention to ears, underarms, and between paw pads
- Avoid scrubbing or twisting, which damages hair and frustrates your dog
Consider using absorbent dog towels or robes designed specifically for pets. These materials absorb moisture far better than regular bath towels and are gentler on sensitive skin. Quality matters here because cheap towels don’t absorb well and prolong the entire drying process.
Spending two minutes on thorough towel drying cuts your total drying time by 30 to 40 percent.
If your dog tolerates it, you can wrap them in a drying robe while you work on other areas. This keeps them warm and continues absorbing water while you prep your next drying tool. Many busy moms find this approach gives them a few minutes to reset before moving to the next step.
Keep moving through the coat until the towel stops pulling out significant amounts of water. Your dog should feel noticeably drier but not completely dry yet. This is your signal to move forward with additional drying methods if needed.
Pro tip: Keep a second dry towel ready to swap in halfway through, since saturated towels lose their absorbency fast and you’ll spend extra time wringing instead of drying.
Step 3: Use a pet dryer for thorough drying
Once you’ve removed the bulk of the water with towels, a pet dryer finishes the job and prevents moisture from lingering in the coat. This step is especially important for dogs with long, thick, or double coats where trapped moisture leads to matting, skin infections, and uncomfortable drying times. Pet dryers work faster and more effectively than air drying alone.
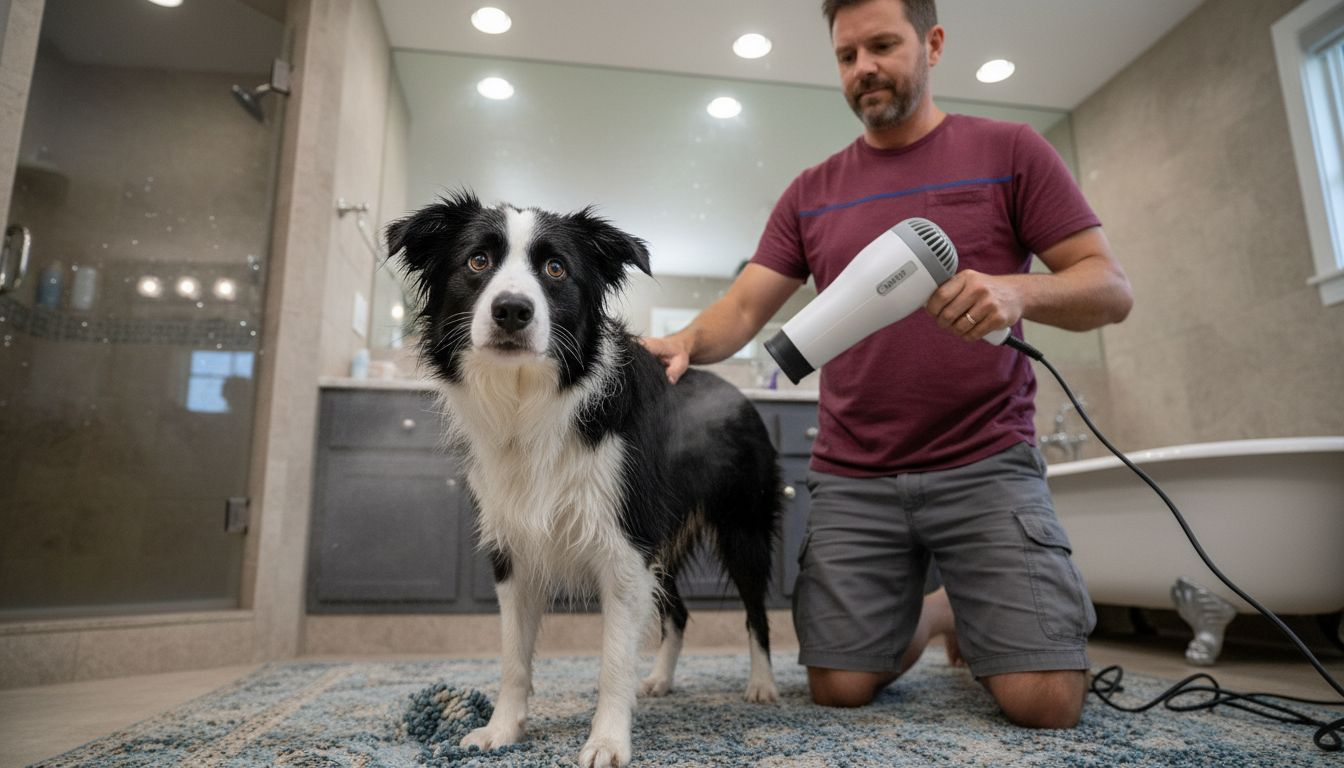
Start by introducing your dog to the dryer slowly. The noise and sensation can startle pets, so acclimate them gradually with low heat and low airflow first. Let your dog hear the sound before turning it on, and reward calm behavior with treats or praise.
When you begin drying, keep the dryer moving constantly. Never focus intense heat on one spot, as this overheats skin and causes discomfort. Work in sections, moving from the head down toward the tail, and pay special attention to dense areas like the chest and hindquarters.
Proper pet dryer technique:
- Start on low heat and low airflow settings
- Keep the dryer 6 to 12 inches away from your dog’s skin
- Move the dryer continuously in one direction
- Check your dog’s comfort frequently by touching the dryer area
- Never point the dryer directly at ears, eyes, or face
- Adjust settings based on your dog’s coat thickness and sensitivity
A pet dryer differs significantly from human hair dryers in terms of safety and design. Pet dryers are built with lower maximum temperatures and better airflow distribution to protect delicate skin. Using a human hair dryer on your dog risks burns and stress.
The entire drying process with a quality pet dryer typically takes 15 to 30 minutes depending on coat thickness and your dog’s size.
Watch your dog’s body language throughout. Panting, trembling, or trying to escape signals distress. Stop, cool things down, and take a break if needed. A stressed dog will fight future drying sessions, so patience now pays off later.
Once your dog’s coat feels completely dry to the touch, you’re finished. Run your fingers through the fur to check for any remaining damp spots, especially in undercoat areas that dry slowly.
Pro tip: Brush your dog’s coat while using the dryer on low settings to separate hair and speed up drying without adding stress.
Step 4: Check and ensure your dog is completely dry
This final verification step takes just a few minutes but prevents serious problems down the road. Lingering moisture hidden in your dog’s coat creates the perfect environment for bacterial and fungal infections, especially in folds and dense undercoat areas. Complete dryness is not optional—it’s essential for your dog’s health and comfort.
Use your hands to perform a thorough tactile check. Run your fingers through your dog’s entire coat, starting at the head and working down to the tail. Feel for any cool or damp spots that indicate trapped moisture still present in the fur.
Areas that commonly stay damp:
- Under the front legs and in the armpits
- Behind the ears and on the earflaps
- The belly and groin area
- Between the toes and under paw pads
- The tail base where fur is thickest
- Lower back and hindquarters in double-coated breeds
If you find damp areas, don’t skip them. Use a dry towel to gently press and absorb remaining moisture, or run the dryer on low heat over those spots for another minute. Pay special attention to areas where your dog’s skin folds or where fur is especially thick.
Completely drying your dog prevents bacterial and fungal infections that thrive in warm, moist environments.
Pay attention to how your dog’s coat looks and feels. Completely dry fur should feel soft, fluffy, and warm to the touch. If any section feels cool or slightly damp, that moisture is still there and needs attention.
Use this drying progress checklist for each session:
| Step | How to Check Effectiveness | Why It Matters |
|---|---|---|
| Towel Drying | Towel dampness, coat feels drier | Preps for final drying steps |
| Dryer Use | No cool spots, fur fluffy & warm | Avoids infections, full dry |
| Final Dryness Check | Hands feel no damp patches | Ensures dog comfort & health |
Once you’ve confirmed your dog is truly dry, you’re finished with the drying process. Your pup should be comfortable, warm, and ready to relax. This is a great time to reward your dog’s patience with praise or a small treat.
Pro tip: Do your final dryness check within 10 minutes of finishing the dryer while your dog is still warm, since cooling fur can feel damp even when it’s actually dry.
Speed Up Drying Time with Expert-Approved Gear
Drying your dog safely and quickly can be a real challenge, especially with thick or double coats that hold moisture in tricky spots. The article highlights common struggles like avoiding damp patches that lead to skin infections and keeping your pup calm during the process. You deserve tools that make drying easier and less stressful for both you and your dog.
Experience the difference with our selection of Earth & Tide Robes designed to absorb water fast and keep your dog warm while you finish drying. Pair them with one of our powerful yet gentle Dog Dryers For The Wettest Dogs that provide the right airflow and temperature to avoid burns and speed up drying time.
Get started today and say goodbye to long drying sessions and stressed pups. Visit Doggy Dry now to explore our specially crafted drying products that align perfectly with fast, safe drying methods you just learned about. Equip yourself with the right tools to make pet drying a calm and efficient routine for you and your dog.
Frequently Asked Questions
What tools do I need for drying my dog after a bath?
You need absorbent towels, a drying robe, and a dog dryer or blower depending on your dog’s coat type. Gather these tools before the bath to streamline the drying process and reduce stress.
How can I dry my dog quickly after a bath?
Start by removing excess water with absorbent towels immediately after bathing. Gently squeeze the water out instead of rubbing, as this reduces drying time by up to 40% when done thoroughly.
What is the best method to dry a long-coated dog?
For long-coated dogs, use a combination of absorbent towels and a high-velocity dryer. Make sure to keep the dryer moving to avoid overheating any one spot and to ensure a thorough drying process that typically takes about 15 to 30 minutes.
How do I check if my dog is completely dry?
Run your hands through your dog’s coat and feel for any cool or damp spots. Pay special attention to areas like the underarms and between the toes, as these are common places where moisture can linger, ensuring your pup is dry and comfortable.
What should I do if my dog is anxious during the drying process?
If your dog shows signs of anxiety, such as panting or trying to escape, take a break and reduce the heat setting. Gradually introduce them to the dryer while rewarding calm behavior with treats, making the experience more positive.
How can I make drying time shorter for my dog?
To reduce drying time, prepare your tools and create a calm environment before starting the process. Also, using quick-drying materials like high-quality absorbent dog towels can significantly speed up the entire drying process.